Turn Your Roof into a Solar Powerhouse: Installation Tips and Tricks!
Solar energy is taking the world by storm—no pun intended—and for good reason! As a versatile and efficient energy solution, solar panels are gaining traction not just in sprawling power plants but also atop residential roofs. Whether you’re an eco-conscious individual or a company striving for sustainability, understanding the nitty-gritty of solar panel installation is crucial. So, let’s dive into this comprehensive guide that covers everything you need to know about installing solar panels on your roof, maximizing their efficiency, and ensuring they stand the test of time.
Your All-Inclusive Guide to Rooftop Solar Panel Installation
Solar panels are more than just eco-chic; they are incredibly functional, capturing the abundant energy of the sun and turning it into usable electricity. The process may seem intricate, but it’s a systematic one, involving well-planned steps from setting up a mounting framework to integrating the system with your home’s electrical grid. Let’s get into the how-to, shall we?
Step 1: Choose Your Mount Wisely
Your solar journey begins with installing the mounts that will hold your precious panels. These come in various shapes and sizes like pole mounts, roof-ground mounts, and flush mounts. Whether you’re installing panels on an RV or an office building, picking the right mount is essential.
Don’t forget the angle! A slight tilt between 18 and 36 degrees ensures maximum exposure to sunlight. To squeeze out even more efficiency, some folks use solar trackers that follow the sun’s path across the sky.
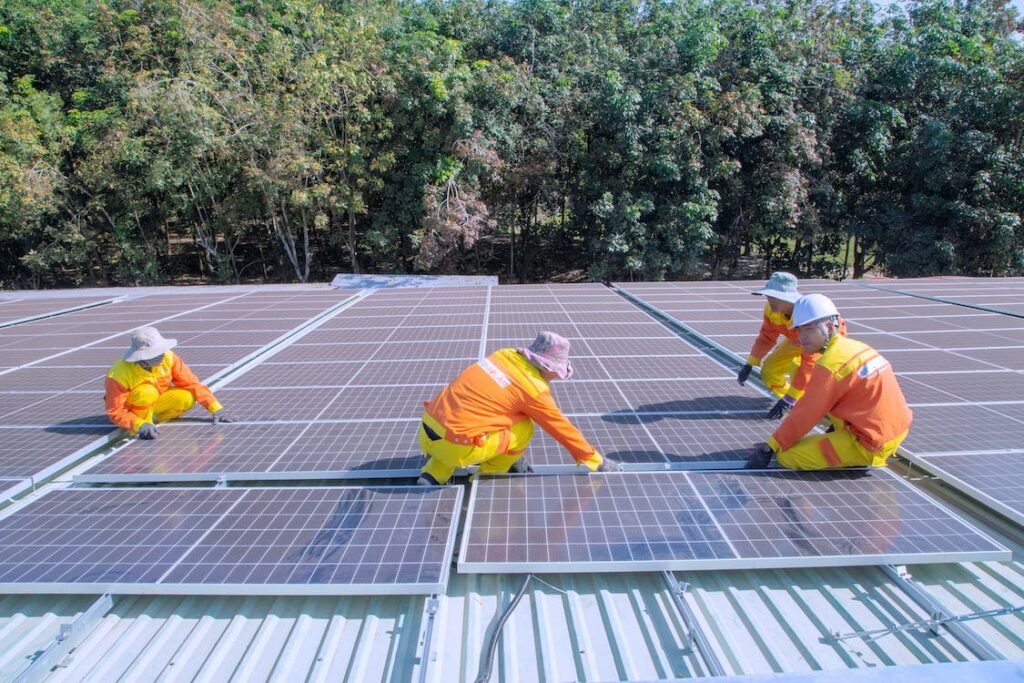
Step 2: Secure Those Panels
Once you’ve got the mounts in place, it’s time to attach the solar panels. This involves good old nuts and bolts, ensuring that your investment stays put for years to come.
Step 3: Wire it Up!
The electrical wiring comes next, typically using universal connectors like MC4 for maximum compatibility. There are two key wiring setups:
- Series Connection: Positive (+) from one panel connects to negative (-) from another, boosting the overall system voltage.
- Parallel Connection: Positive connects to positive, and negative to negative, maintaining the voltage but increasing the current.
Step 4: Bring in the Inverter
The inverter plays a critical role, transforming the direct current (DC) from the panels into alternating current (AC) for household use. Simple wire connections to the solar inverter, battery, and grid make this happen.
Step 5: Power Up that Battery
If you’re living off the grid or just want some backup juice, connecting a battery is essential. It’s as simple as connecting positive to positive and negative to negative.
Step 6: Link to the Grid
Your system gets connected to the grid through a conventional plug, allowing you to pull electricity when the sun isn’t shining or even send excess power back for some areas.
Step 7: Flip the Switch
After double-checking all connections, hit the main home switch to kickstart your solar adventure! Most inverters have digital screens that offer useful data on power generation and consumption.
Common Pitfalls to Avoid
- Overpaying: Prices vary, so shop around. Get quotes, compare features, and choose a panel that fits your budget.
- Missing Components: Keep a checklist of all essentials—panels, charge controller, inverter, and battery—to ensure you’re not missing any vital parts.
- Wrong Sizing: Calculate your energy needs by listing all devices, their wattage, and usage time. Right-sizing your system ensures it meets your energy needs without causing issues like overheating.
Pro Tips for Optimal Performance
For sun-drenched results, place panels where they’ll get plenty of sunlight, clear any obstructions, and regularly check for shading issues.
So, there you have it! From picking mounts to hitting that ‘On’ button, each step in solar panel installation comes with its intricacies. But don’t let that deter you. Armed with this guide, you’re all set to make your home an eco-friendly powerhouse. Happy solarizing!